Recipe Review: Vanilla Biscotti Recipe by Bunny Baubles

Biscotti means Cookie. The word 'biscotti' is also used to refer to twice-baked crunchy cookies that can be eaten with with coffee or tea. 


Vanilla Biscotti

If you are like me and did not know what biscotti was, It is a cookie that is baked twice. First, the batter is baked as a log or loaf. After the log cools a little, it is sliced diagonally and baked a second time. The second baking time dries out the moisture in the cookie. This leaves an airy, crunchy, lightly sweet and firm cookie.

The texture of this cookie makes it a great accompaniment to wine, tea or coffee. Some people prefer to dunk this crunchy cookie into their tea or coffee but I prefer to eat it as is.

Lemon and Cranberry Biscotti

The variations of biscotti recipes that exist are too many to count. but, I was searching for a simple biscotti recipe when I found the vanilla biscotti recipe by Bunnybaubles.
 Before I go into how the recipe worked out, I just have to admit that the pictures on her blog are beautiful,  whimsical even.

The vanilla biscotti recipe is very basic and the ingredients are things you probably have in your pantry. Once again, I tried this recipe in the wee hours of the morning for the first time.
The process of making it was easy, and I did the mixing by hand.

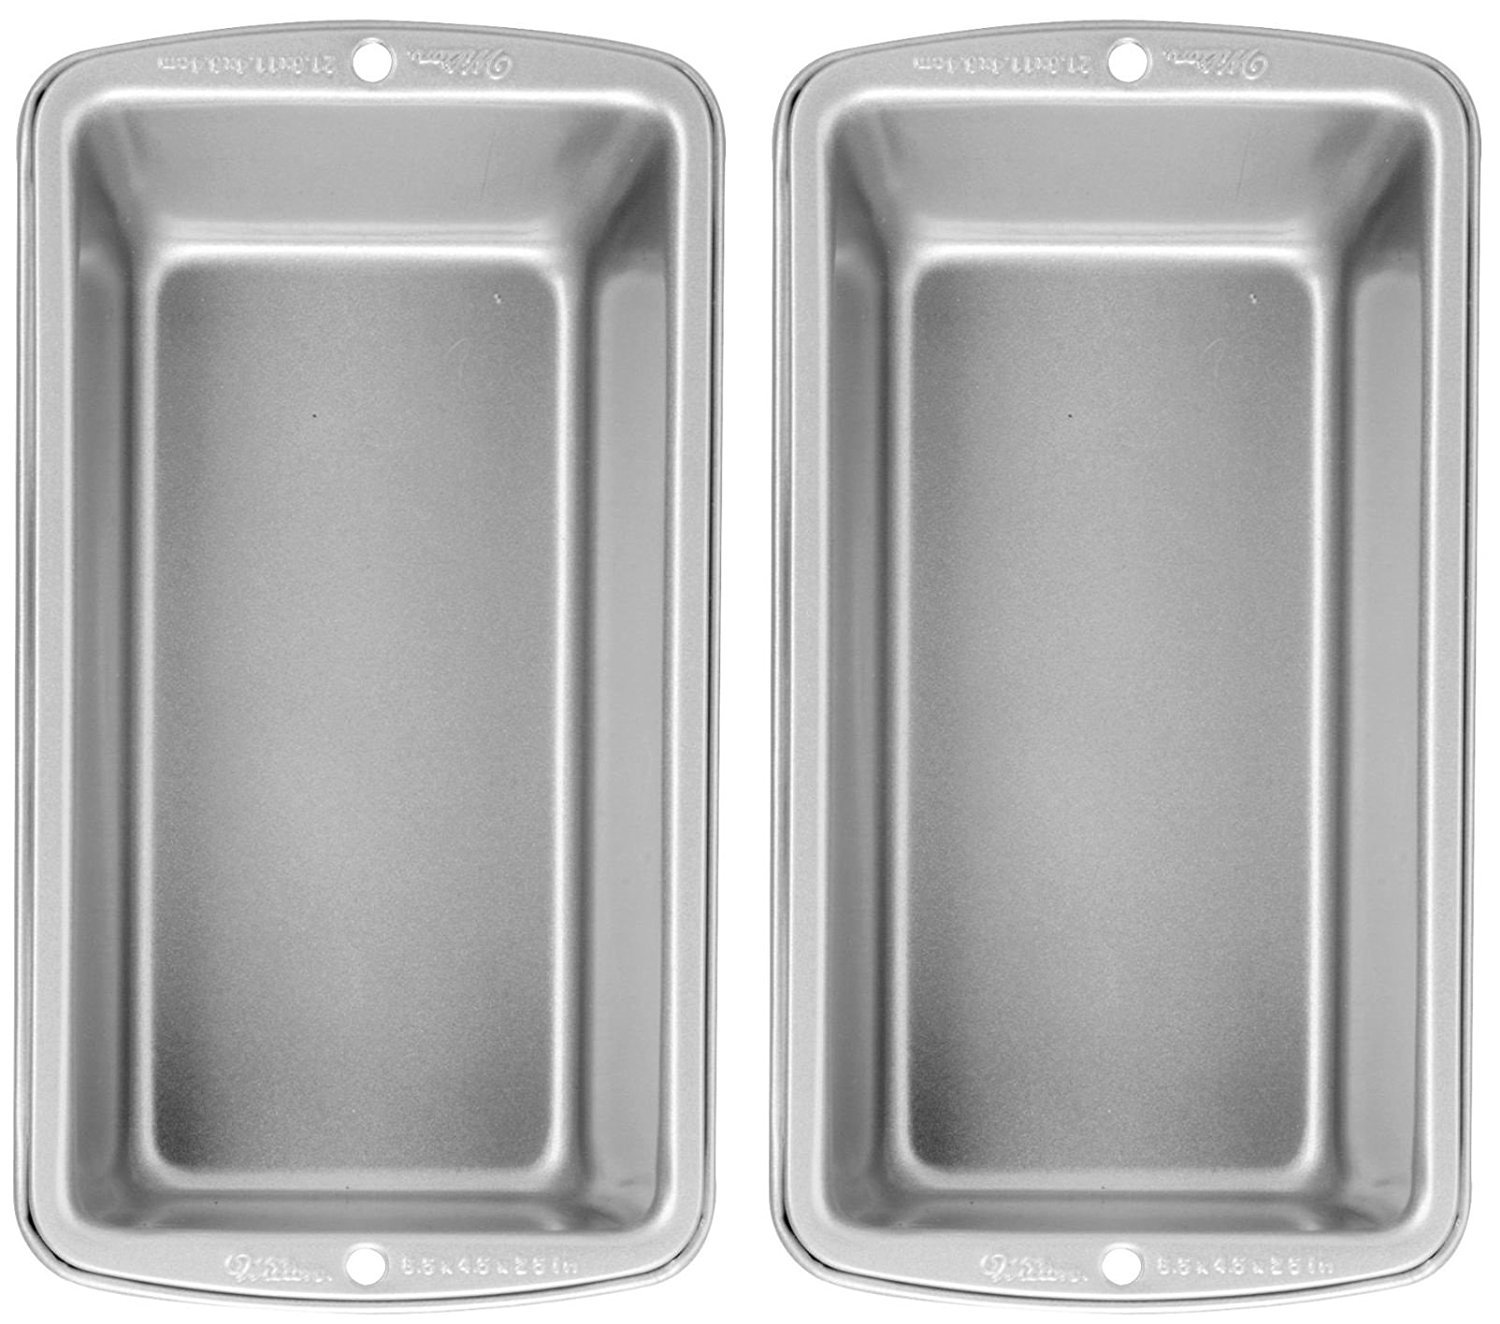
First, you cream the butter and sugar. Then mix in the eggs and vanilla extract. Add the flour and baking powder and mix until well combined. Put the batter on a parchment lined baking sheet and form it into a log or 2 logs.

 Bake the logs for 20-25 minutes and remove it from of the oven. Leave to cool for 5 minutes and cut the logs into diagonal strips. Arrange the strips on a baking sheet and bake in a lower temperature for a few more minutes.
Lemon and Cranberry Biscotti

Since, I have made a few variations of this recipe. Here are the results I got:

  • Making the recipe as written
  • Using cake flour instead of all purpose flour
  • Including add-ins
  • Using margarine instead of butter

  • Making the recipe as written

This biscotti recipe is tricky to work with because of its stickiness. At this point, I have to emphasize that you should not increase the flour in this recipe. The result of making this recipe as written is a light, crisp cookie that will not break your teeth.
The butter in this recipe makes the cookie tender and not as hard as authentic biscotti cookies.

  • Using cake flour instead of all purpose flour

I wondered if using cake flour would provide a lighter texture due to the presence of the corn flour. The result of this substitution was a sticky dough that i could not shape into a log. To make the dough manageable, I used an additional ¼ cup of flour.
Despite this inclusion, the dough was still a little sticky. After the second baking period, this cookie was light and crunchy. There was no huge difference between the cookie made with AP flour and this one.

  • Using margarine instead of butter

This recipe calls for 90g of butter but I bake with margarine for personal reasons. I made this vanilla Biscotti recipe with margarine as well. The texture of this recipe was not affected by the use of margarine.
The flavor factor was a whole other issue. Using margarine creates a very bland biscotti that requires the use of more extracts or flavoring.

  • Using half butter and half margarine

The results were the same as when I used margarine alone, but, I got a light buttery flavor that did not overpower the vanilla or lemon extract I used.

  • Including add-ins

This vanilla biscotti recipe is nice as it is but it does not have an extraordinary flavor profile. After making this cookie plain a few times, I experimented with add-ins. My favorite is a lemon and cranberry biscotti. I added some chopped up dried cranberries for tartness and a teaspoon of lemon extract.

These additions improved the overall flavor of these cookies. All my taste testers preferred this to the plain version.

Do I recommend this recipe?

Yes, I do. This is an easy project for beginner bakers. It follows simple mixing principles like creaming, folding. I can go as far as calling this recipe idiot proof. Unless you add too much flour or burn these cookies, I cannot imagine what else could go wrong.

These cookies will make an excellent addition to any cookie recipe collection.


Tips for working with this recipe

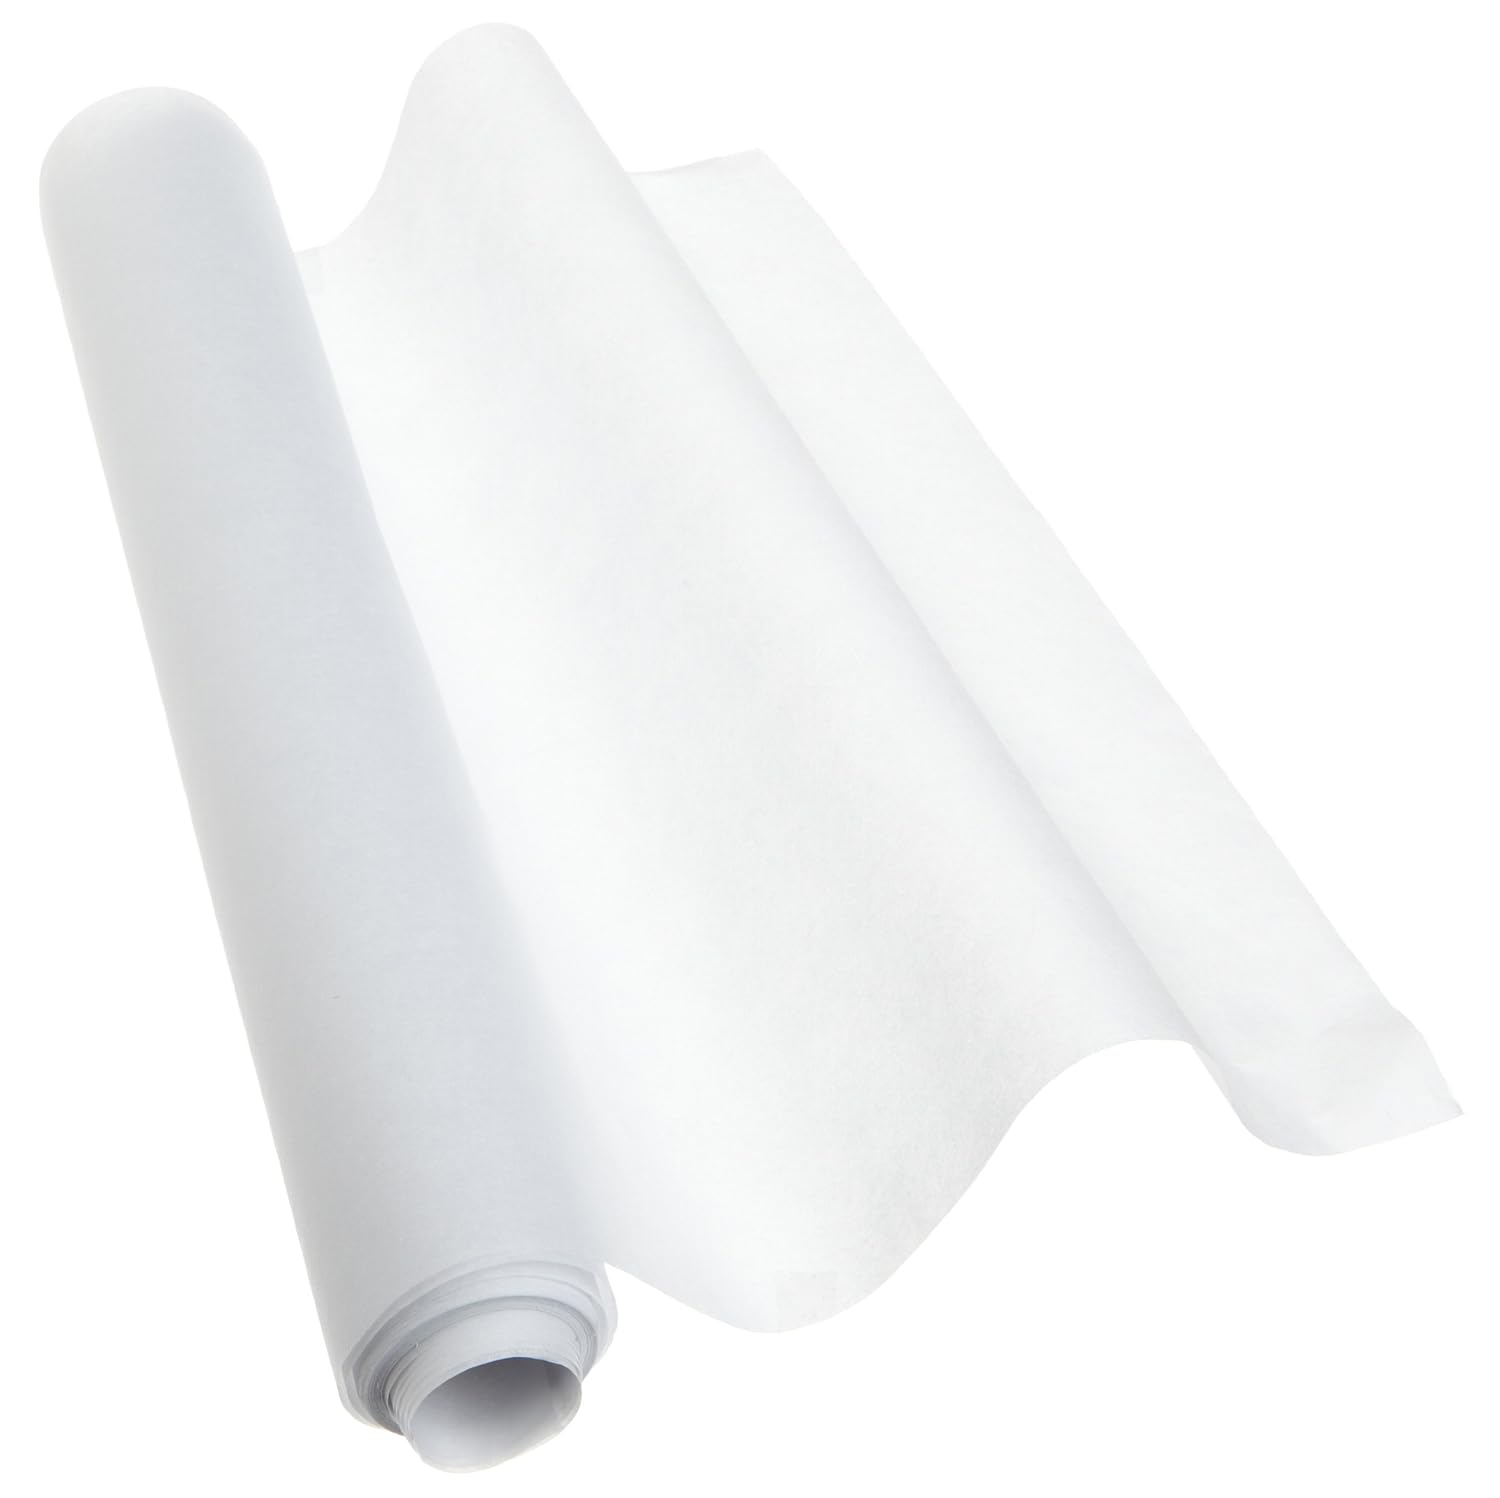
  • Line your cookie sheet with parchment paper.
  • Use wet or oiled hands to handle the wet dough. 
  • Do not add more flour to this dough.
  • Cut your biscotti with a serrated knife and use a sawing motion.
  • Do not cut your biscotti too thin. The thinner you cut your Biscotti, the higher the chances of it crumbling. If you will be dunking this cookie in tea, cut it a bit thicker. 
  • Store these immediately they are cool in an airtight tin.

How to store an unfrosted cake


An awesome, beautifully flavored and properly baked cake can become unappealing if you do not store it properly.

When you start baking earnestly, you will come across instances where you have excess cake. You may need to bake in advance for an event or bake a cake and plan to frost it at a later date. Commonly, you may simply have leftovers that will not be eaten immediately. This could lead you to store it in a fridge, freezer or on your counter. The problem with this is that storing cake can sometimes alter the texture or even flavor of the cake.

To help you overcome this problem, this is a list of ways to store unfrosted cakes while keeping them fresh. For maximum results, store cake while it is still fresh not after it has sat on your table or counter for a few days.

How to store unfrosted cakes

Storing cake batter

If you have made too much cake batter, use it up within 3-6 hours for best results. For the 3-6 hours, make sure the batter Is in the refrigerator. Any longer and you risk the raising agents used becoming ineffective.

Some recipes allow you to freeze the batter in cupcake tins and bake them in the oven immediately. If this is something you prefer, look into frozen muffin batter recipes, these usually make fantastic breakfast items. I prefer using freshly mixed cake batter because it eliminates the fear of baking a poorly risen cake.

Storing Whole unfrosted cake

So you have a whole cake you are not ready to use, what to do? This is something a lot of professional bakers do. First of all, let the cake cool down completely. Wrap it multiple times in cling film and then with tin foil and put it in the fridge or freezer. If you are going to use the cake in a day, store the wrapped cake in the fridge.

For longer storage, keep the cake in the freezer and attach a date tag so you know when you kept it.

Storing leftover cake

For the cake that has already been cut into, if you are not going to use it soon, store it in the freezer. Cut the remaining cake into serving slices as soon as you can and wrap the slices individually in cling film.

If you want to store the leftover cake in the fridge, I recommend putting the cake in an airtight container. This will help to prevent the cake from drying out and from absorbing other smells.

Storing cake on the table or counter

If you have baked a cake that is being eaten, leaving it on the counter is ideal. However, the best way to store a cake on the counter to use a cake plate with a tight-fitting lid. In the absence of this, a plate with a bowl turned over will serve the same purpose. This prevents your cake from drying out and from an insect or ant invasion. Leave cake properly covered on the counter 3-5days.

To defrost cake stored in the freezer, move the cake to the refrigerator to defrost slowly. You can also leave the frozen cake on the counter for a few hours until it comes to the cake comes to room temperature.

Key tips for storing cake

  • Do not leave cake uncovered in the fridge or freezer.
  • Avoid storing cake in a containers used to keep strong smelling foods.
  • Do not keep a hot cake in the fridge/freezer. Especially if you use the fridge or freezers  to store groceries or home meals.
These are my tips for storing unfrosted cakes. If you would like to add a tip to this list, please comment below. I love reading from you.

Some topics in this 'Baking Basic' series are:


Recipe Review: Crispy and Creamy Doughnuts from Allrecipes


One day, I woke up and wanted a doughnut. I did not want JUST any doughnut though. I wanted a homemade doughnut from my kitchen. This started my search for a beginner baker friendly doughnut recipe that tasted great and was practically foolproof.


crispy and creamy doughnuts


My first attempt at making yeast doughnuts was sad and uneventful because the yeast I had at home was old and no longer active, Suffice it to say that after that attempt, I tucked my tail in between my legs and ran.
The disaster doughnut hurt even more because I had to knead by hand as I was yet to get my heavy-duty stand mixer. I hate kneading by hand and do not understand the people who say that kneading is therapeutic.

My future attempts were mostly unsuccessful after that and I stopped trying to make a yeast doughnut.
One morning, I woke up and decide to try making a yeast doughnut once more. This time I tried the fluffy and crisp doughnut recipe from Allrecipes.

The recipe has a lot of positive feedbacks, so I was convinced that this was the recipe that would usher in my success in making doughnuts. Since I had a kitchen aid, I was encouraged to try again for the perfect homemade doughnut.

The instructions for this recipe are easy to follow. Using a stand mixer also makes kneading a breeze. One peculiar thing about this recipe was the use of shortening in this dough instead of butter or margarine. Since my original attempt at making this doughnut, I have made this several times with little changes. I did not make a ton of changes when mixing this recipe. This is due to the fact that altering yeast recipes requires some care.

crispy and creamy doughnuts

Get the crispy and creamy doughnuts recipe HERE.

I have made the doughnut recipe in these various ways:
-Using the recipe and making it as directed
-Using margarine instead of shortening
-Making a jam doughnut with the recipe
-Baking the doughnut instead of frying it

  • Using the recipe as the directed

This recipe is easy to follow and the ingredient list can be easily found. I dare say that you already have all the things needed for this recipe in your pantry already especially if you are always baking. The first time I made these I added more flour than was called for to the dough because it was still quite tacky and the result was tough doughnuts.

The second time that I made these, I used the amount of flour stated in the recipe, the resulting dough was tacky but not sticky. I cut the resulting dough into doughnut rounds and I combined the scraps once and cut them into strips to make doughnut sticks.

I fried my doughnuts in groundnut oil and I got some of the softest, airy doughnuts I have ever had. The inside of these doughnuts was soft and airy while the outside was crisp. The texture of these doughnuts aside, the taste was almost bland. This recipe does not have a huge a lot of sugar in it so if you wish to make these doughnuts, you will have to make use of a glaze and or coating of sugar.

  • Using margarine instead of shortening

To make these once, I made use of margarine instead and I can honestly say I did not notice the difference.

  • Making these as Jam doughnuts

I made these doughnuts as jam doughnuts once and did not cut out holes in the middle. When I fried them, they were fine but they took longer to fry and some were a bit doughy because of the inconstant temperature while frying. After filling these doughnuts with jam, I preferred the plain ones. I recommend making these like regular doughnuts. If you want to fill these with jam or jelly, monitor the temperature of your oil. This will prevent a situation where the outer sides of the doughnut are done while the inside is doughy.

  • Baking instead of frying the doughnuts

While this recipe is great when fried, I am not crazy about oil-drenched foods. I made this recipe as directed and put the cur doughnuts on a parchment-lined baking sheet. These doughnuts baked at 375 for 17-20 minutes. The results were a fluffy, slightly drier doughnut that was not at all greasy. These did not have the signature doughnut shape and curves. However, what these treats lacked in appearance, they made up for in taste.

Overall observation

Texturewise, the crispy doughnut recipe from Allrecipes is not as awesome as I thought it would be. It was soft and crispy when freshly fried. However, to enjoy them, they have to be eaten within 6 hours. Any later or a day later and these treats lose their fluffiness and get a little dry.

Tastewise, this recipe is not very sweet and relies on a glaze for any additional sweetness and flavor. The flavor of this recipe is reliant on a little butter, vanilla I love this doughnut with an orange glaze and you will too.
Get the crispy and creamy doughnuts recipe HERE.


Tips for making this recipe
  • If your dough is sticky, add a tablespoon of flour at a time and mix knead until it is tacky.
  • When working with tacky dough, do not add more flour. Knead it as it is and use a dusting of flour to help roll and cut out your doughnuts.
  • Place the cut out doughnuts on pieces of parchment paper. The parchment paper will help you put the doughnuts into the hot oil without deflating or deforming them.
  • Do not overcrowd the oil when frying these. This will cause the temperature of the oil to drop and the doughnuts will cook unevenly or may soak up oil.
  • Use shortening for a lighter doughnut but use butter for a better flavor.

Do I recommend these?

Yes. If you will serve them or eat them the day they are made, I recommend them. They are light and crisp when fried. For your inner child, glaze these doughnuts with milk chocolate or dust with powdered sugar. If you are not crazy about sweets, eat them as they are, without a glaze.

Note: These are best consumed the day they are made.

Check out my review on Mrs Siggs Snickerdoodles from Allrecipes HERE.


How to Keep Your Cake from Sticking to the Pan

Keep Your Cake from Sticking to the Pan


Every baker hates when their cake sticks to the pan. Even worse is when a chunk tears off while trying to get the cake out of the pan.

Why did my cake stick to the pan

  • Not properly greasing the bakeware you use.
  • Using a scratched baking pan. Avoid using knives or sharp items on your bakeware, this could scratch the non-stick surface of the pan and compromise the quality of your pan.
  • Baking with poor quality bakeware can cause your cakes to stick to the pan. You have to be extra careful when preparing poor quality baking pans. Do not skip the corners, edges and even the top rim of the pan.
  • You greased your pan too far in advance and the oil or butter slid to the bottom.

Ways to keep your cake from sticking to bakeware

How to Keep Your Cake from Sticking to the Pan

Use Parchment paper

One of the easiest ways to prevent a cake from sticking to the pan is by using parchment paper. Simply use a little baking spray or butter to hold the parchment paper to the sides and bottom of the pan.
When using a round pan, you may only need to cut out a circle to fit the bottom of the pan. The disadvantage here is that this method cannot be used with bundt pans or specialty pans.

Butter and Flour Baking Pan

Whenever you read ‘prepare pan’ this is what the writer is referring to. All you have to do is rub butter, margarine or shortening all over the pan. Then, dust some flour all over the pan. Do not forget to tap out the excess flour.
For a chocolate cake, liberally apply cocoa powder to the buttered baking pan and dust out the excess cocoa powder.

The disadvantage of this method is that it leaves a residue on the cake crust. This makes it harder to give out the cake or take it to a party as it is or unfrosted.
According to the Arthur Flour website, you can also dust your baking pan with ground nuts to keep your cake from sticking to the pan.

Use Baking Spray

This is the easiest way of ensuring your cake is released from the pan. All you do is spray the cake release on the pan. For best results, you should use a baking spray that has flour added to it.
However, some baking sprays can cause your bakeware to deteriorate faster. Read reviews and buy what best suits your needs.

Use Pan Release

I stopped buying baking sprays and started using a pan release a few years ago. Now, I just use a brush to spread the pan release instead. I simply mix one part oil and one part flour. After mixing it, I brush it on the pan and keep the rest in the fridge. Usually, this mix lasts for at least 2 weeks in the fridge.

If your mix is very thick, it will leave a residue on the cake after it is baked. If you want to get rid of the residue, thin out the pan release with a little more oil.
Another pan release recipe is 1 part oil, 1 part shortening and 1 part flour. Whip it in your whisk or mixer and use this to grease your baking pan. This is a foolproof way to keep your cake from sticking to the pan

Sugaring

This is like the 2nd method listed above. Butter the pan and then apply a dusting of granulated sugar onto the pan. This prevents your cake from sticking to the pan and also adds a ton of flavor to your cake. As the cake bakes, the sugar caramelizes and makes the cake crust very delicious.

When using this method, you have to turn the cake out of the pan as soon as it is done baking. The reason for this is that while hot, sugar is liquid and once cold, it crystallizes or solidifies. Sugaring also makes the cake crust shiny and beautiful. I do not recommend using this for intricate or very detailed baking pans.

Furthermore, I do not recommend this if your baked good will be in the oven for a very long time because the sugar could burn.

My cake has stuck to the pan, what should I do?

  • If your cake has stuck to the pan, put the pan in hot to warm water for a few minutes. Then, run a skewer or plastic knife around the pan to loosen the cake. Afterward flip the pan again.
  • Another method to retrieve the cake is to wrap the pan in a wet warm towel for some minutes. Then flip the pan.

So... my cake is still stuck to the pan

If your cake is still stuck the pan, you may have to scoop your cake out and make a trifle. The cake may not be whole but it will still be delicious.

If you have more tips for preventing your cake from sticking to the pan, please leave the tip in the comment section

Recipe Review: Mrs Siggs Snickerdoodle Cookies

Snickerdoodles

Last week, i reviewed the Quick Bread recipe by Fine Cooking. If you are interested in this recipe, check the review out Here.

I have no memories of eating snickerdoodle cookies in my childhood. While I was growing up, I can confidently say I never ate any homemade cookies. My mother however did buy a wide variety of biscuits which I enjoyed. The closest I ever came to eating something similar to a snickerdoodle was eating a Speculoos biscuit that she bought. I loved the spices in the Speculoos cookies. While craving something similar in my later years I came across the snickerdoodle.

My first attempt at making snickerdoodle cookies was beautiful. However, the cookie paled in comparison to my beloved Speculoos cookie.

I attempted making the cookie again using Mrs Siggs recipe from AllRecipes.  I have had varying results from making little and not so little changes to this recipe every time I make use of it.

-Using the recipe as it is
-Using margarine instead of shortening
-Eliminating cream of tartar
-Chilling dough before baking
-Flattening dough ball before baking
-Adding chips and nuts to dough
-Substituting some flour with oat flour
-Using self rising flour instead of all purpose flour

Snickerdoodle cookies

  • Using the recipe as it is

Mrs Sigg’s snickerdoodle cookie recipe is easy to follow. The first time I made this though, I felt like I did something very wrong. This cookie dough is better called a ‘batter’ as it was very loose and quite hard to scoop. To counter this problem, I used a tablespoon that had been dipped in water to portion out my cookies on a baking tray.

If you wish, you can chill the cookie dough to make it easier to scoop out. I baked the cookies for 10 minutes as directed the first time and almost burnt the cookies. On my second attempt I baked the cookies for 8 minutes at 200c. Then, I switched of my oven and left it in for another 5 minutes before putting the cookies on a cooling rack.

This cookie was not mind-blowing. I could taste the shortening, a slick feeling was left on the roof of my mouth after I had these cookies. I tried to ignore the mouth feel but was met with the ‘off taste’ of the cream of tartar. While it was not used liberally, everyone in  my family stopped chewing to ask what that awful taste was. I baked this severally but I always tasted it so I stopped adding it.
The other problem I had was that this recipe incredibly sweet. This recipe produced a sugar fest cookie. Texture-wise, this cookie was crisp on the outside but still nice and chewy on the inside.

  • Eliminating the cream of tartar 

On another attempt, I omitted the cream of tartar in this recipe and baked as directed. My first observation was that I did not get the signature snickerdoodle cookie crackle on top. However, the cookie tasted great minus the off putting taste of the leavening agent. The texture remained the same.

  • Chilling the dough before baking

After I mixed Mrs siggs Snickerdoodle cookie recipe, I noted that this cookie was very loose and difficult to scoop. I divided the recipe into 2 and put one half in the freezer all night just because I could not bake it that night.

I portioned out the cookie dough at room temperature using a wet table spoon. Even then, i was still unable to roll them into balls because of how wet this dough was. While baking, this dough spread out quite a bit and rose considerably.  When baked and cooled, the height of the cookie fell and I had a snickerdoodle cookie that spread but was not very fluffy.

The next day, I portioned the frozen dough using a tablespoon and rolled them into balls. After rolling the dough into balls, I arranged these balls on a baking tray and left them on the kitchen counter to come back to almost room temperature(I did not flatten these out). These cookies spread less and rose higher, it tasted nice but it was just a little fluffier than that baked at room temperature. Go with what you prefer.

  • Adding chips and nuts to the dough

 If you wish to enhance the flavour profile of Mrs siggs snickerdoodle cookie and make it yours, you can add a nut of your choice to the dough before baking. I do not recommend adding baking baking chips to this recipe for 2 reasons.

The first reason being that this recipe is already a sugar bomb. The addition of baking chips would be an overkill in my opinion. The second reason is that due to the nature of the recipe and the heat used in baking these cookies, the chips may burn before the cookie is fully baked. If you insist on adding baking chips, try freezing them before adding them to this dough. You can also add the chips to the top of the cookies before baking. If you do not wish to do either of the above recommended, bake the cookies at a lower temperature until done. This last recommendation requires some trial and error.

  • Substituting some flour for oat flour

 During one of my health kick weeks, I made this cookie recipe with oat flour. To make this recipe even remotely healthier, I substituted ¾ of flour the recipe called for with flour . The amount of sugar in the recipe defeated my efforts though. The resulting snickerdoodle cookies still tasted nice but where thick, drier and had a less appealing texture. I came to realize later on that by making that substitution, I was creating a whole other recipe. Furthermore, the cookies did not spread much when I used oat flour. I do not recommend this at all. If you wish to attempt this, the use of half AP flour and half oat flour is sure to give better results.

  • Substituting all purpose flour for self rising flour

After I tried using oat flour in this recipe, I moved on to use SF flour in place of all purpose flour in this recipe. I baked these cookies as directed and I got cookies that rose a bit higher and were a little salty. I used gold medal self rising flour and will not use this to make these cookies again. This is because of my inability to control the amount of leavening agent and salt used). I do not recommend this substitution.

Overall Observation

I do not think Mrs Siggs snickerdoodle cookies recipe is the best. Even without making any changes, this recipe was very hit or miss. I could taste the cream of tarter in it. Some of my taste testers said it was too sweet and did not love it.

 If you want a foolproof snickerdoodle cookies recipe, i think you should give this a pass. While this recipe has some amazing reviews on allrecipes, i am disappointed.

Get this recipe here.

9 Baking Pans Every Baker Should Have

A great baking pan is invaluable. It can help you create marvelous baked creations. With proper care, your baking pans will last an incredibly long time as well.


I have baked hundreds of cakes and used numerous baking tins. From all the time I have spent in the kitchen, I have a list of baking pans that I use the most. These are great additions to the pantry of an apprentice baker and even the advanced baker. 

These pans will be fantastic if you are going to be trying new recipes within and outside your comfort zone.

Below is my list of baking pans every baker should have:


8 or 9 inch Round Pans (2-3 pans)

This is the standard baking pan for most cake recipes you can find online. This is why it is the first on this list. You can use an 8 inch round pan instead of a 9 inch and vice versa. The only difference will be a slightly higher or shorter cake and a longer or shorter baking time. 

Except you absolutely need it, I do not recommend getting both the 8 and 9-inch pans. Get either one.

9x13 pan


The standard baking tray, perfect for brownies or cakes. Most brownie and tray bake recipes require the use of a pan this size. A 9x13 baking pan is perfect for events or outings where you need a large dessert.

 There is a large variety of 9x13 pans: glass, ceramic and metal. I prefer the metal pan because it has straight edges suitable for frosting and layering. Glass and ceramic dishes have rounded edges that are not great if you want to stack cakes. This a pretty big pan that will produce 24 small servings.


8x8 inch pan


The 8x8 baking pan is perfect for baking half of a recipe meant for a 9x13 baking pan. If you need a small batch of brownies or cakes, use this pan. Perfect for the home baker, this is a baking pan every baker should have in their arsenal.


Loaf Pan


I have 4 loaf pans and I recommend every baker has at least 1 in their kitchen. A 9x5 loaf pan is quite common. This pan is great for bread and other yeast recipes. However numerous baked goods can be made in loaf pans as well. I bake quick bread, cakes, biscotti and smaller quantities of blondies and brownies in loaf pans. 

This baking pan comes in glass, metal, and ceramic so choose whichever works for your needs. I use metal because of the straight edges.

Loaf pans are deeper than most round or square pans. This will cause an increase in baking time if you bake a cake in a loaf tin.

Removable bottom pan

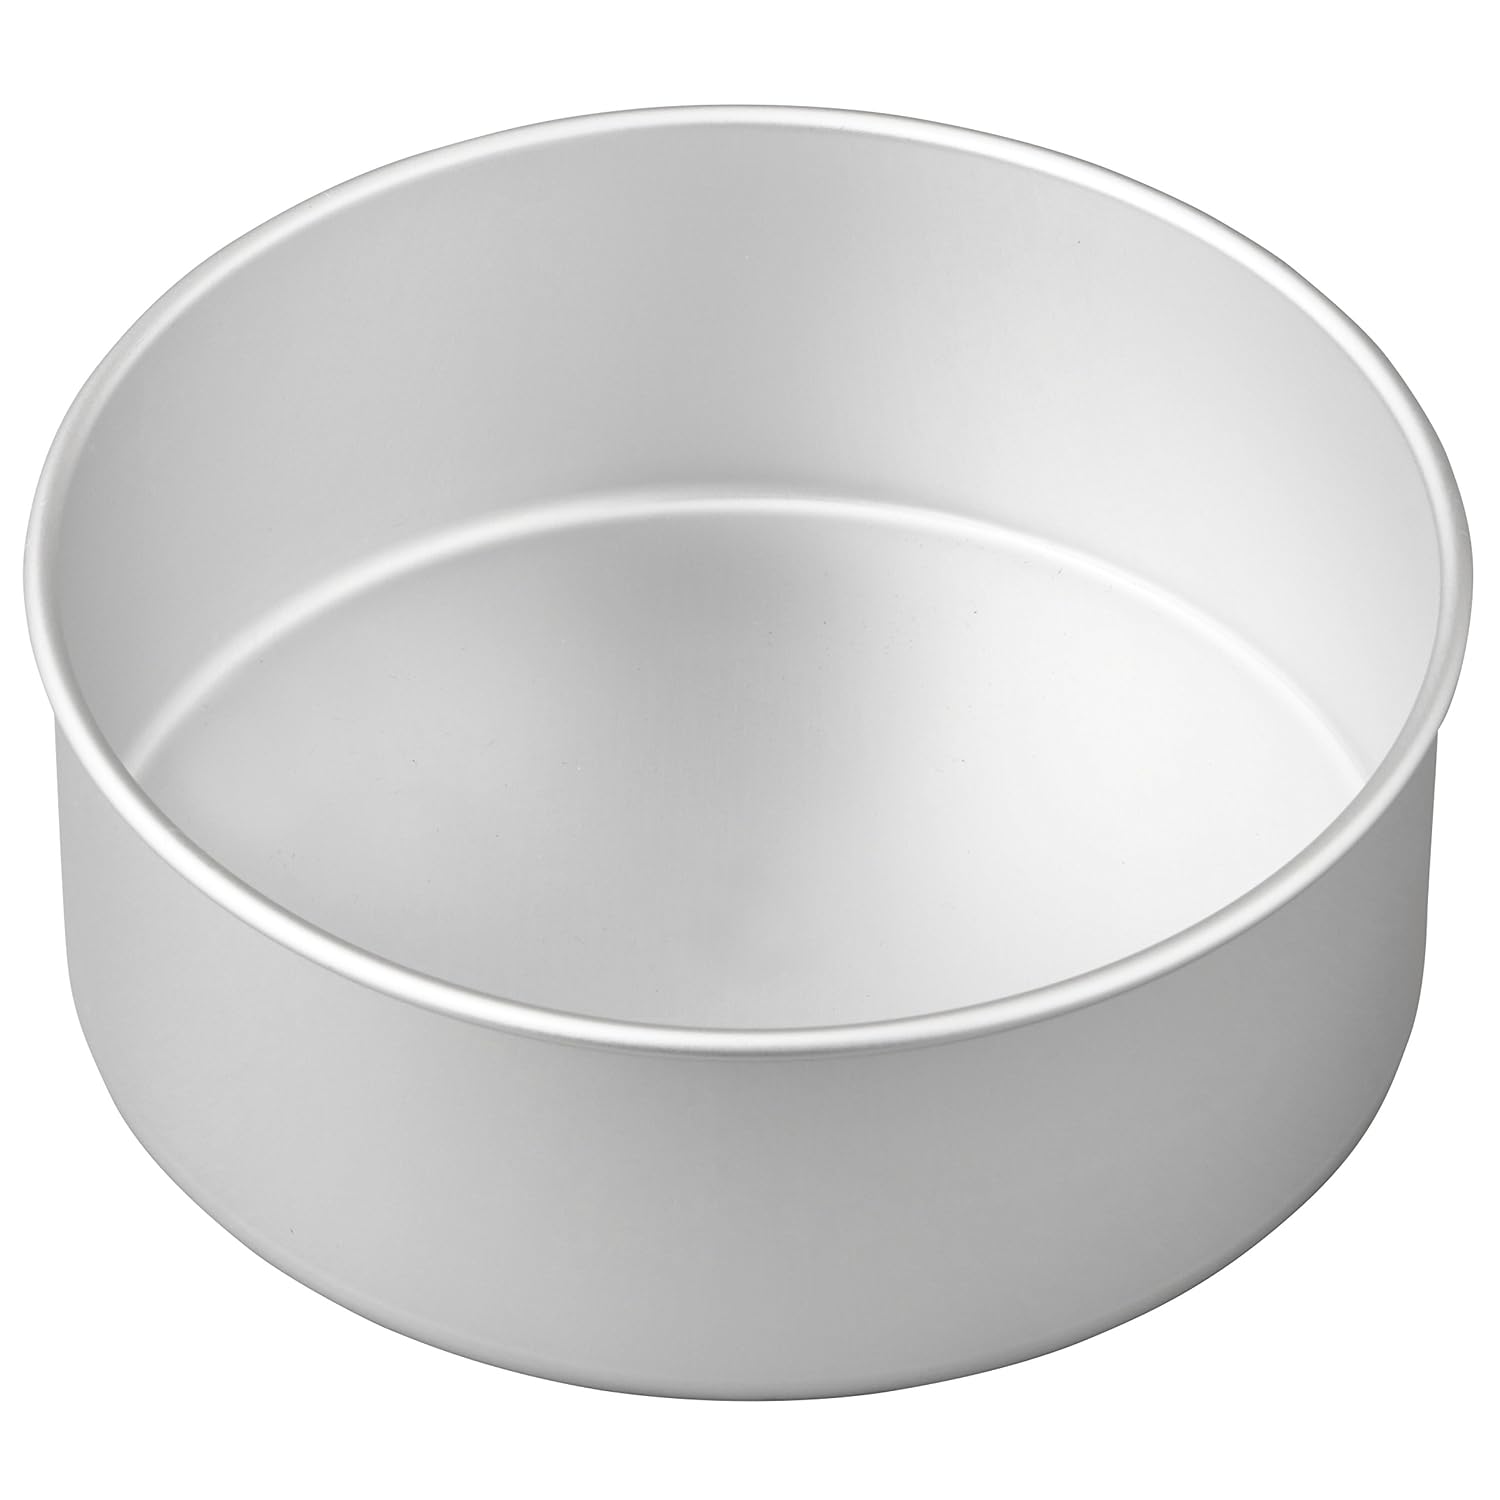
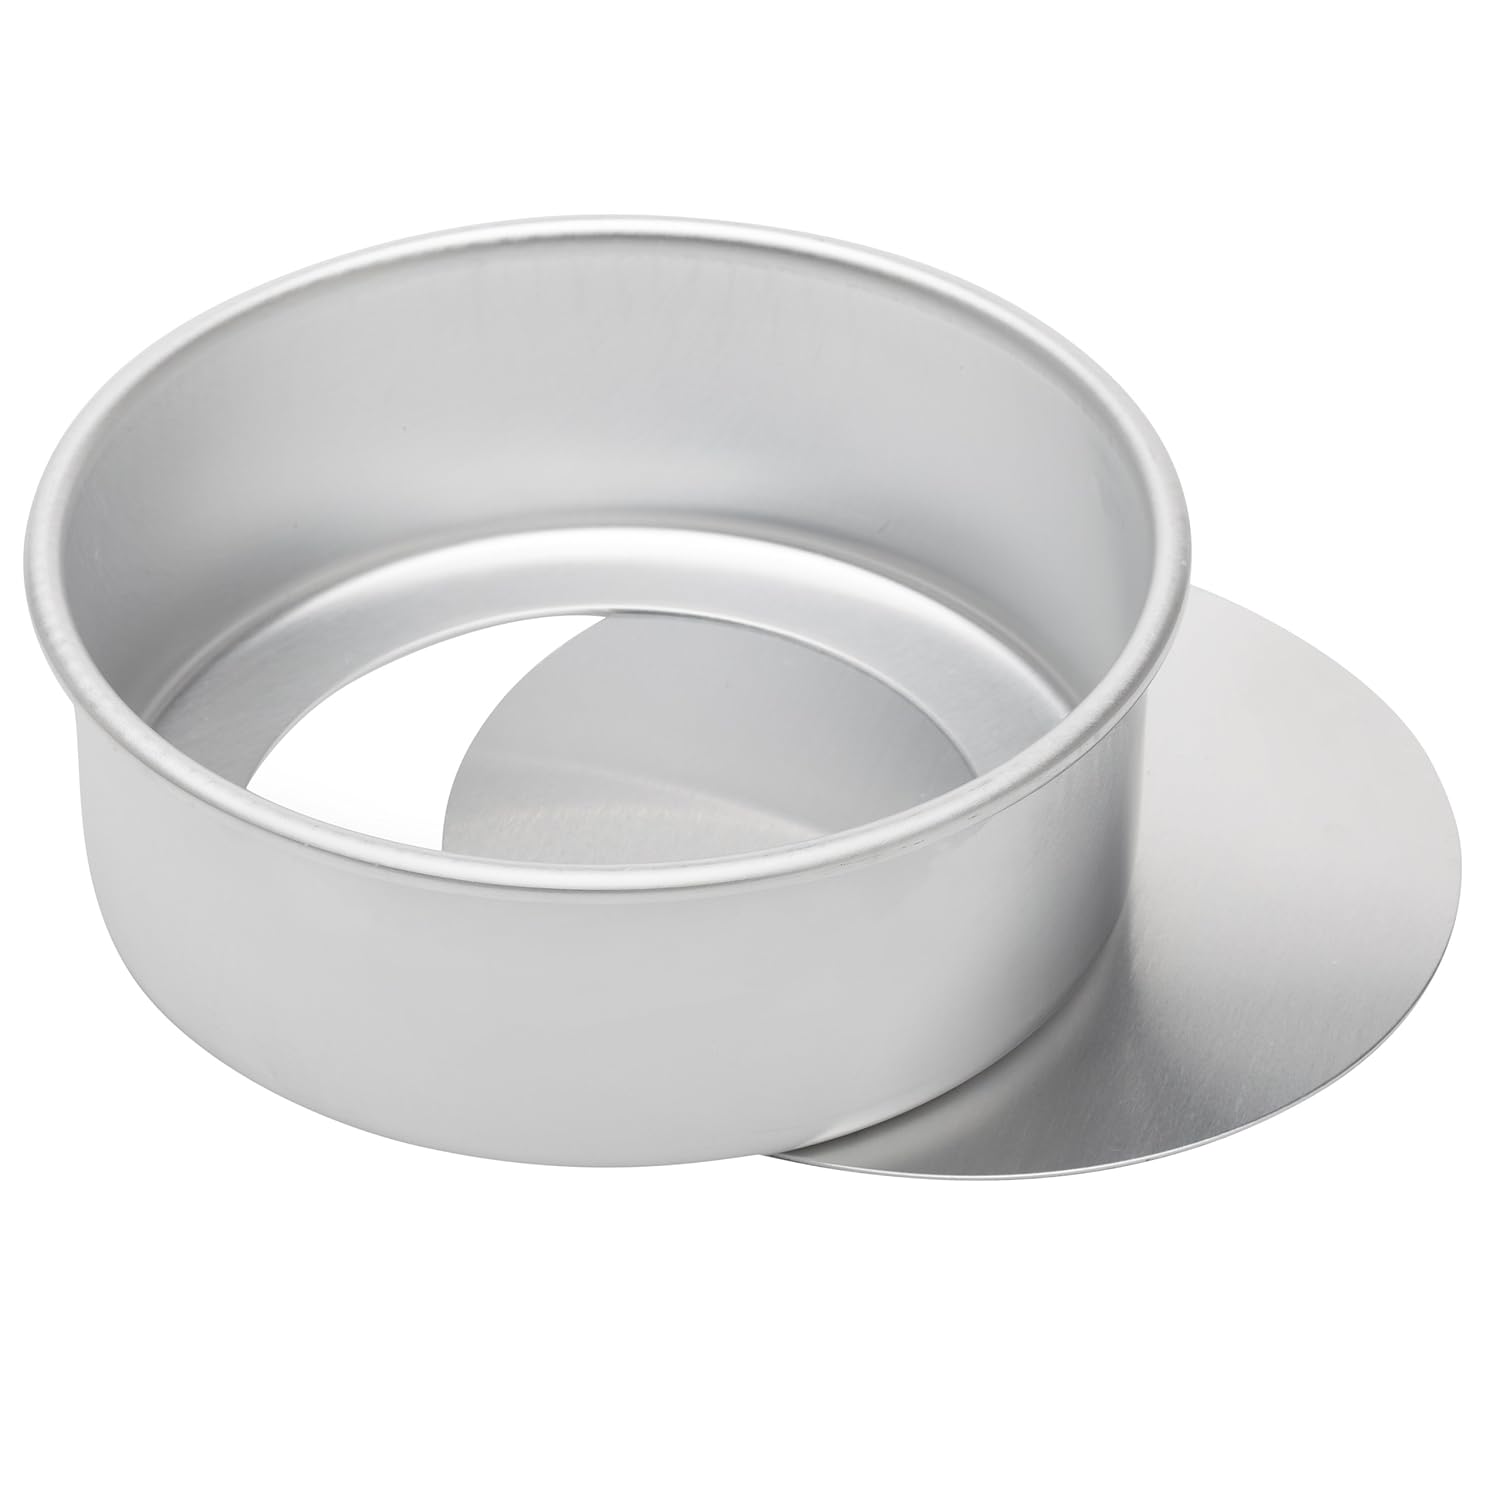
This is my pan of choice for sponge cakes and cheesecakes. The pans with bottoms that can be detached make easy work of bringing some desserts out after baking. This, however, is the one pan where a careful selection is necessary. So many of this kind are not sealed tight enough when closed and cause oven spills. Read the reviews before purchasing this particular style of baking pan.

Angel Food Cake Pan

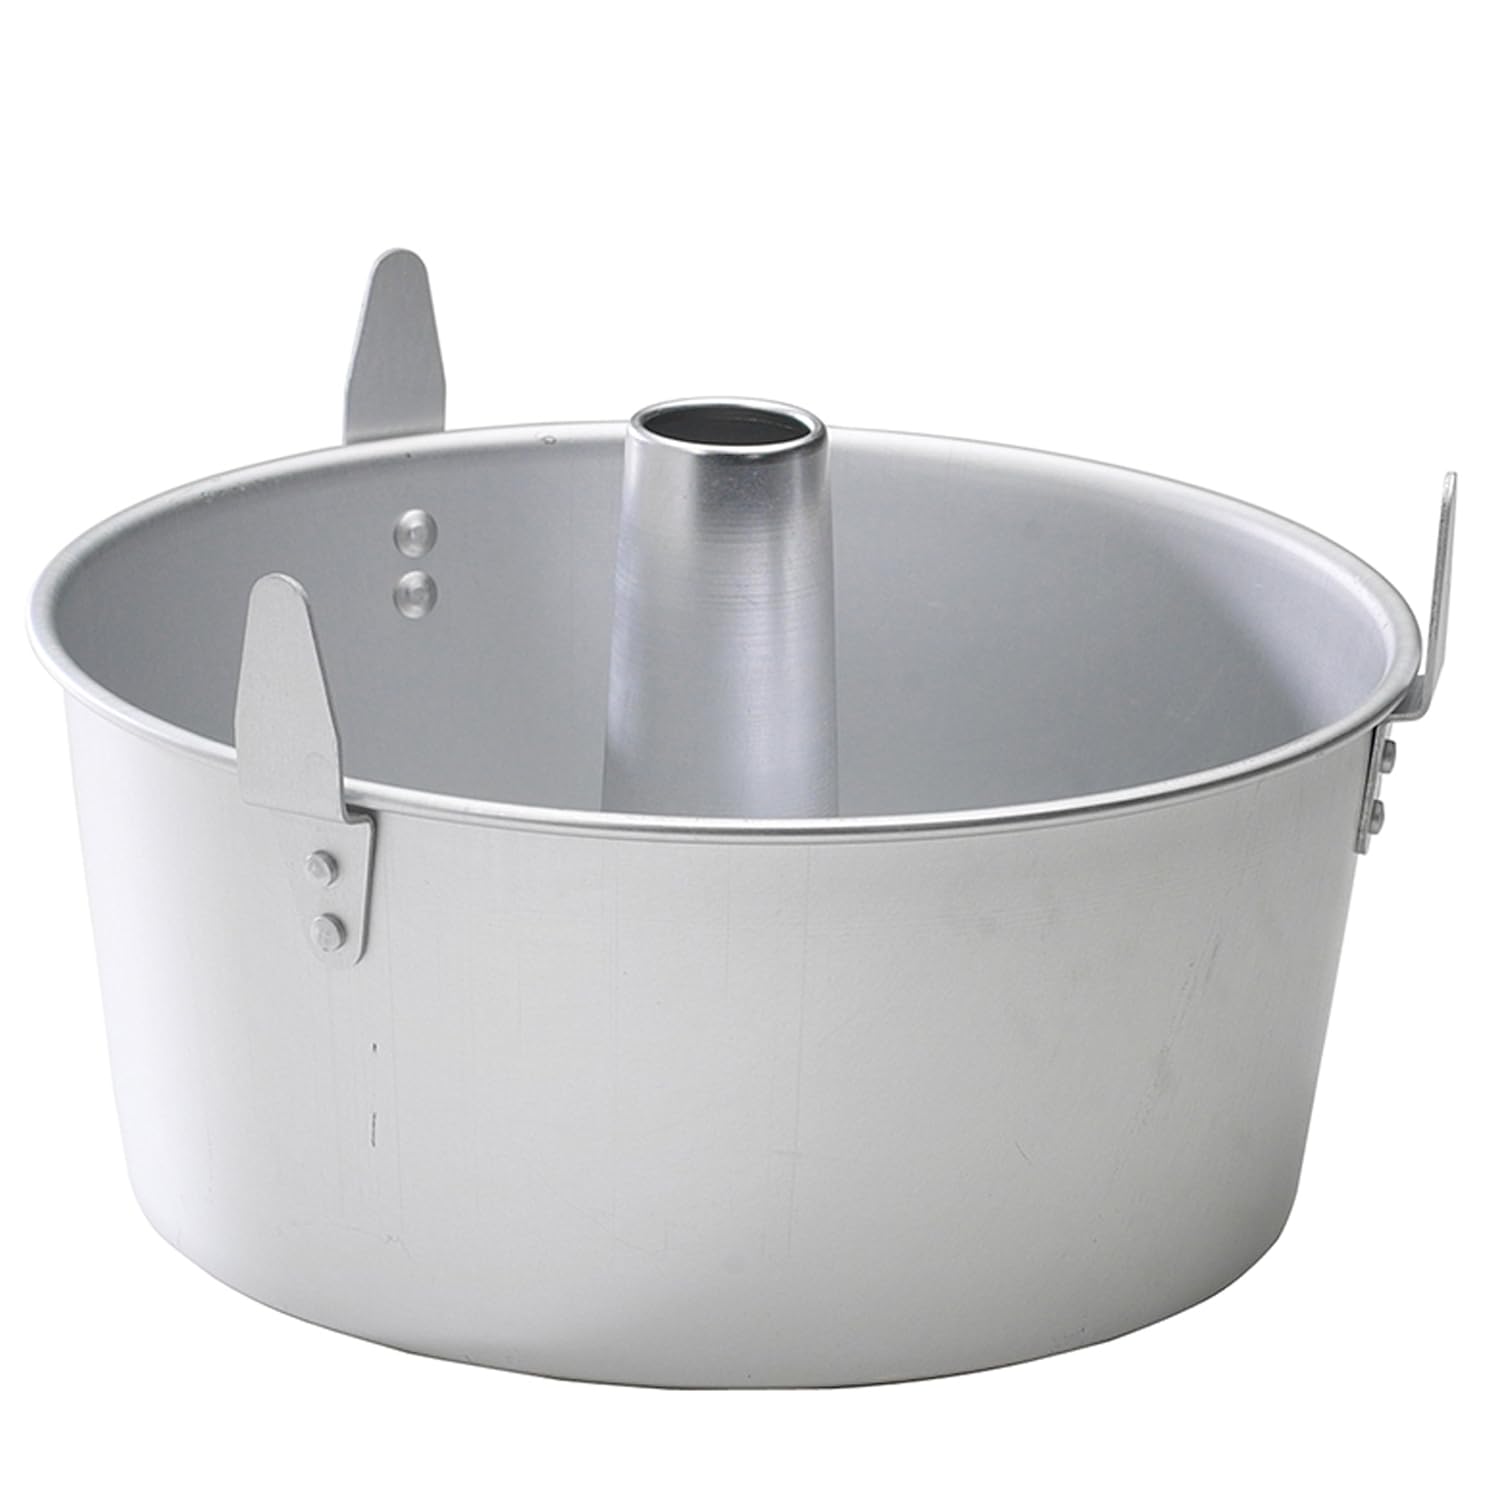
If you are into light, fluffy, cloud-like cakes, you should have this baking pan. Created to ensure delicate cake batters rise very high and stay high. These pans have a hole for inverting the pan after baking. This ensures that the delicate cake does not collapse as it cools.

 If you do not wish to use the hole for cooling, some of this pan come with spokes at the sides of the pan. These spokes hold the pan upside down after baking as well. The removable bottom some angel food cake pans have also make it very easy to take the cake out of the pan when it's cooled.
You can bake any type of cake in this pan as well.

Bundt Cake Pan

A bundt cake pan has a tube in the middle. It comes in a variety of designs but does not have a removable bottom. If you love trying new recipes and baking single layer cakes, this pan will be a great addition to your collection. 

Some bundt pans hold as much as 15 cups of batter, this is great for parties or meets and greets. These also reduce the baking time of some recipes because of the ring in the middle which ensures great heat circulation. 

This cake pan can take an effortless recipe and makes it look elegant. Decorate a bundt cake with a light glaze or dusting of sugar.


Cupcake Pans

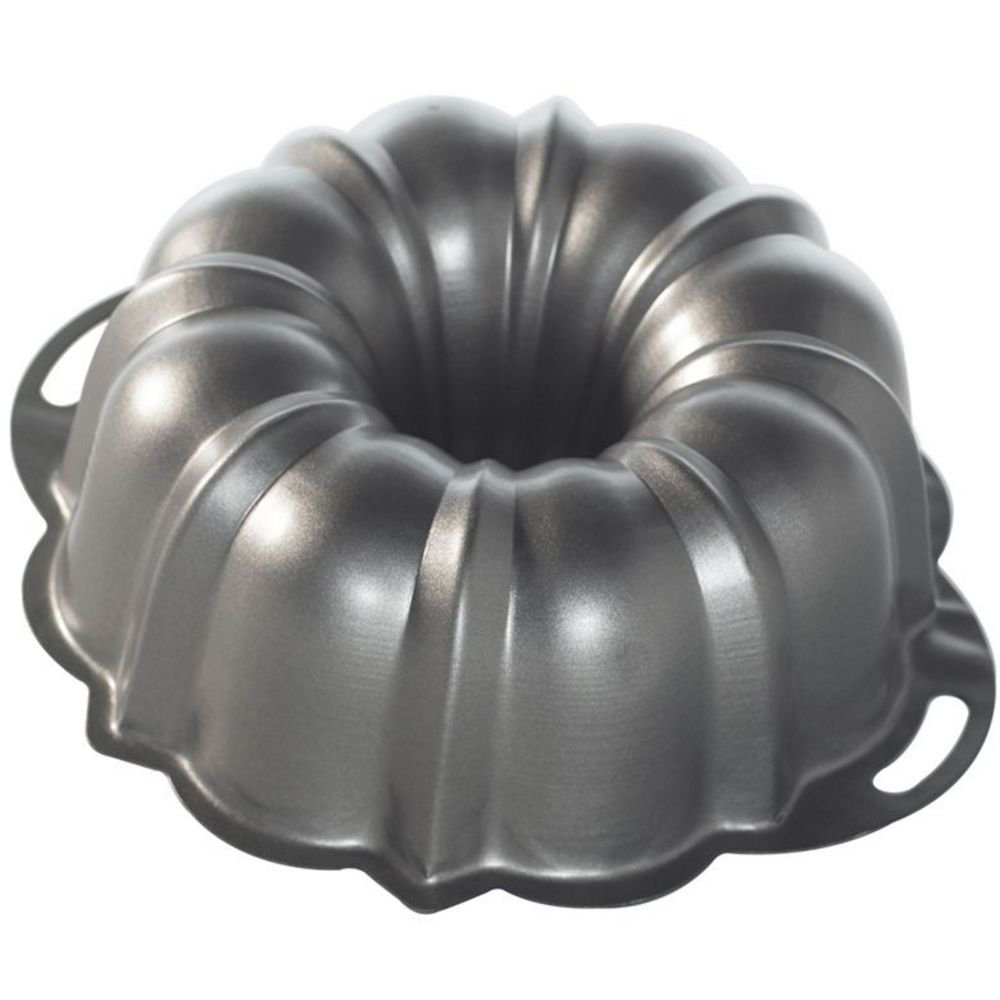
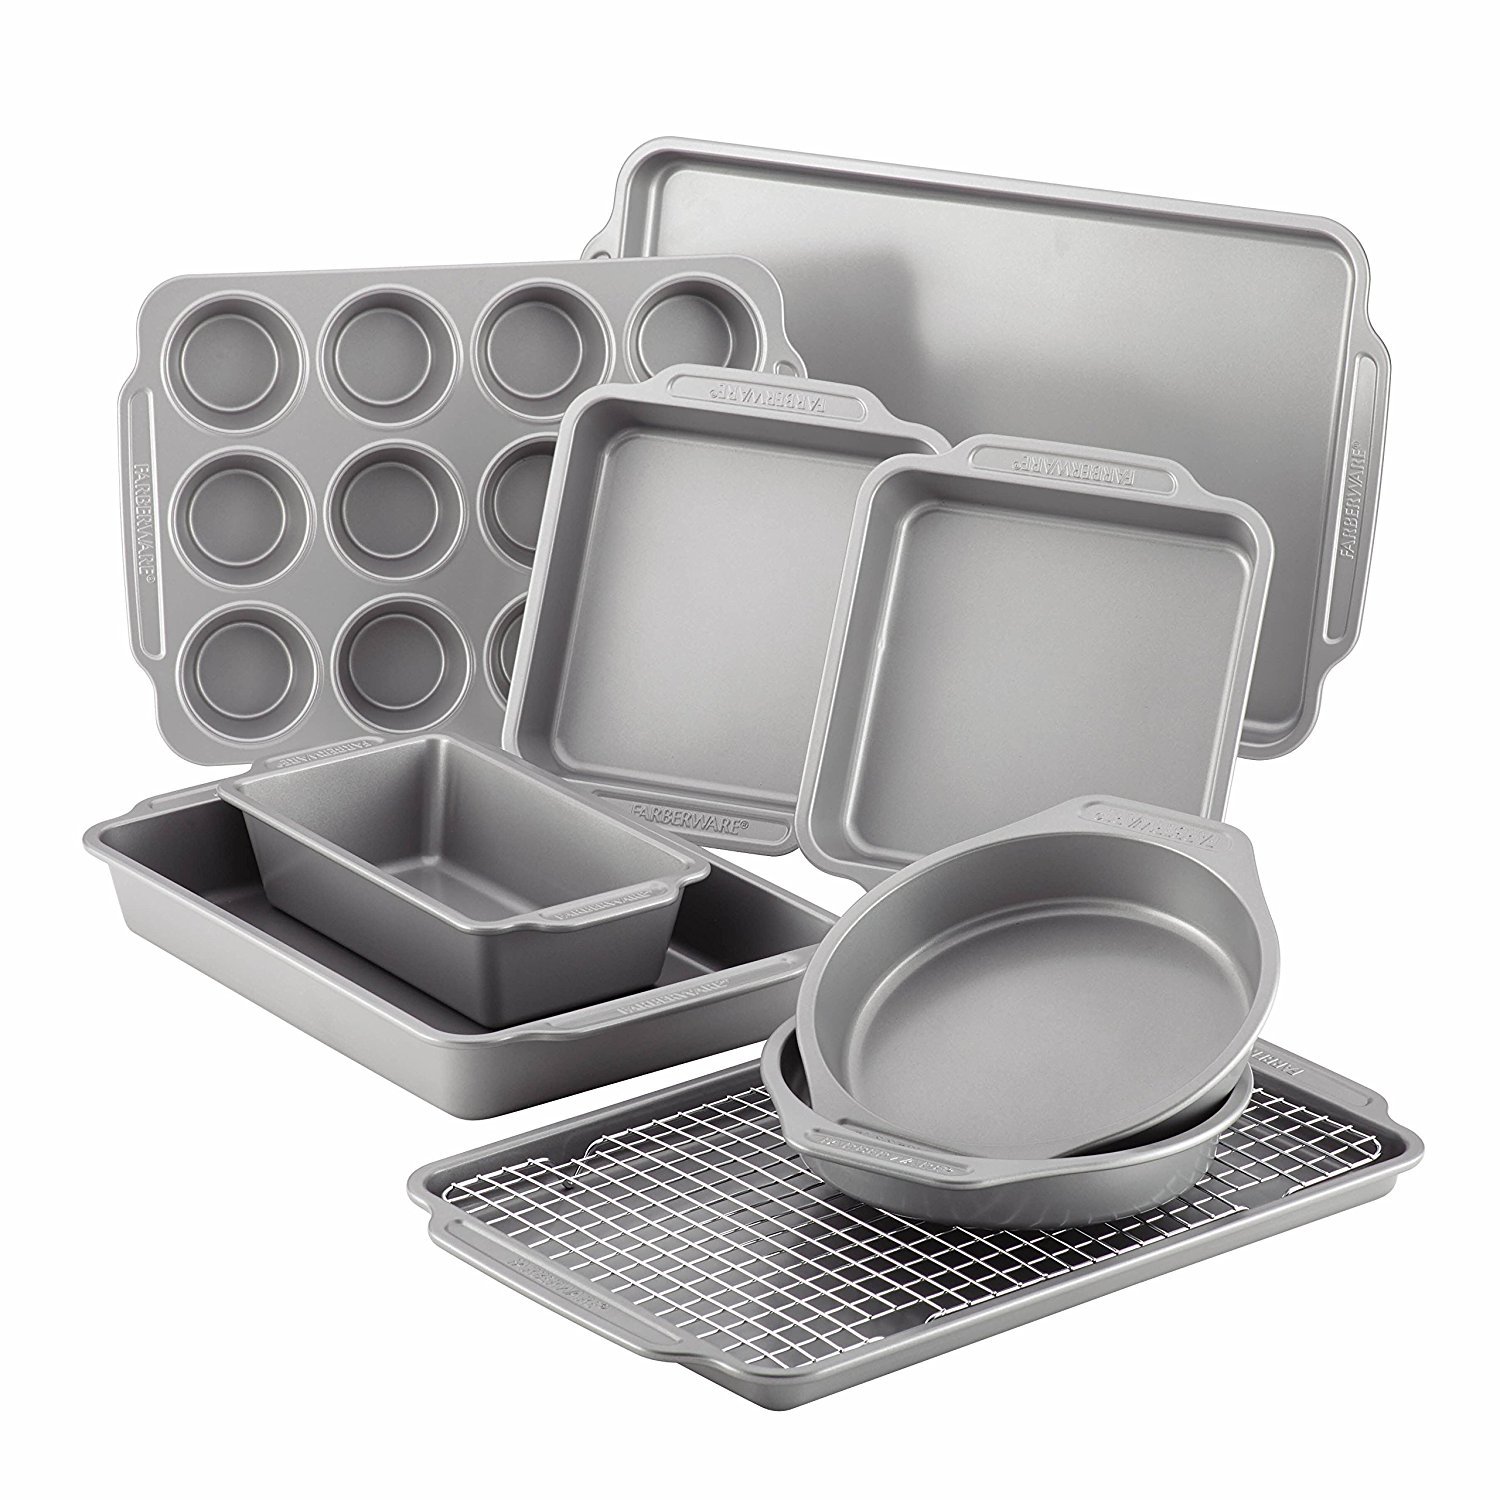
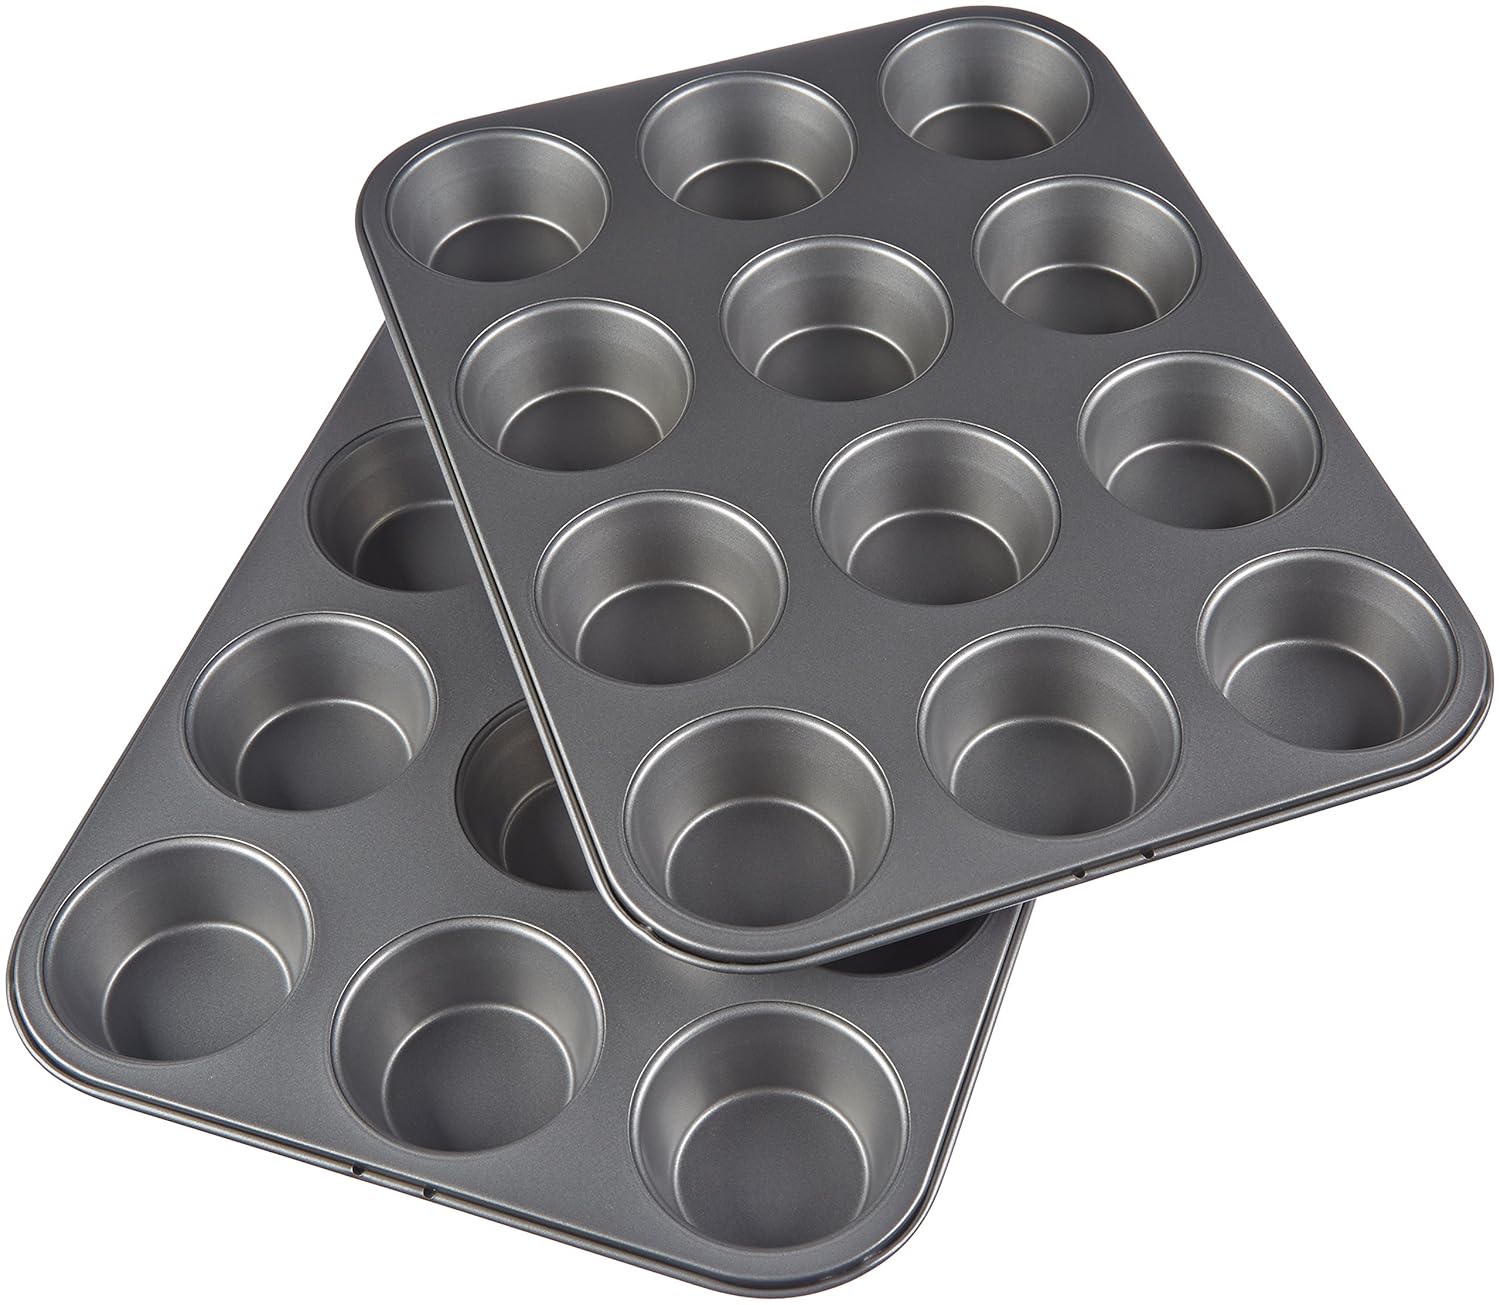
What is this list without cupcake pans? Trash!
Okay, cupcake pans are a must-have for every baker. Apart from helping you create miniature, moist, delicious, cakes, these are essential for testing smaller batches of a recipe. 

When I am trying out a new recipe, I bake a quarter of the recipe in cupcake pans. This means I can share out samples, I can try only a little amount of the recipe and with great cupcake liners, washing up is a dream.

Cookie sheet

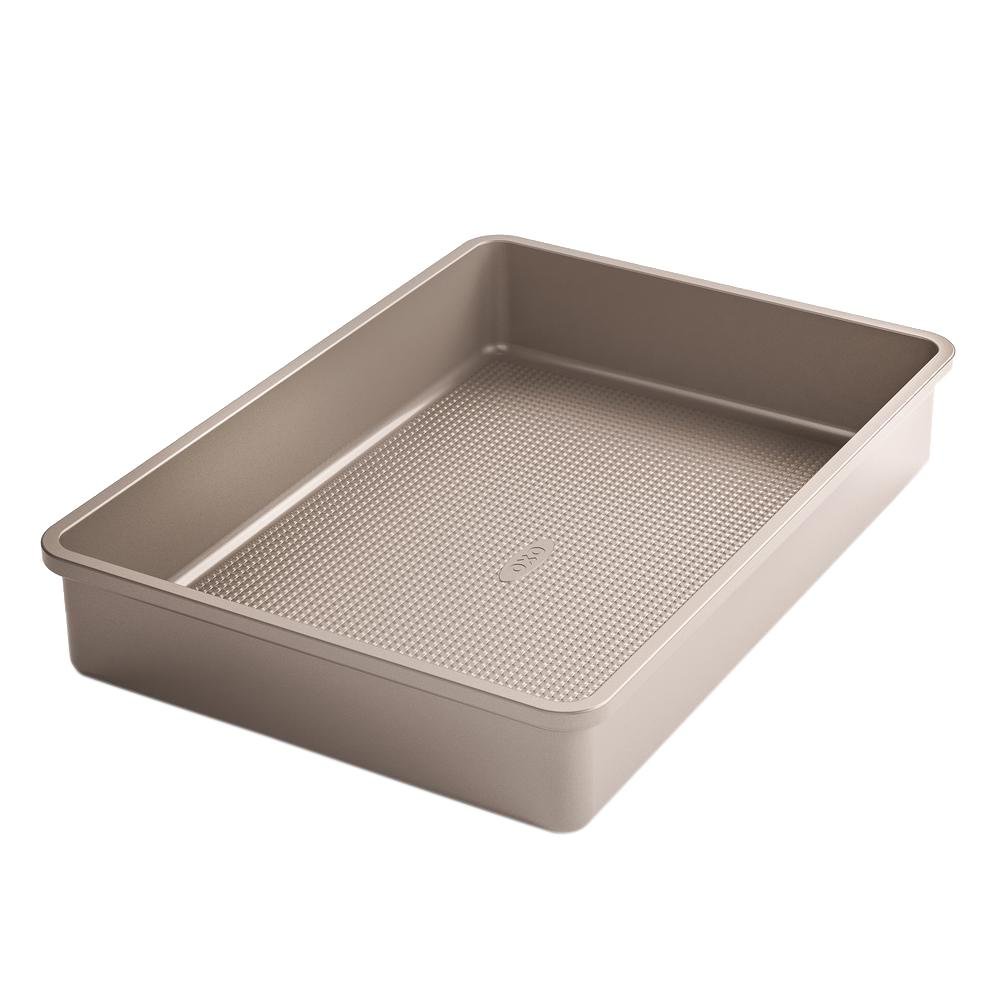
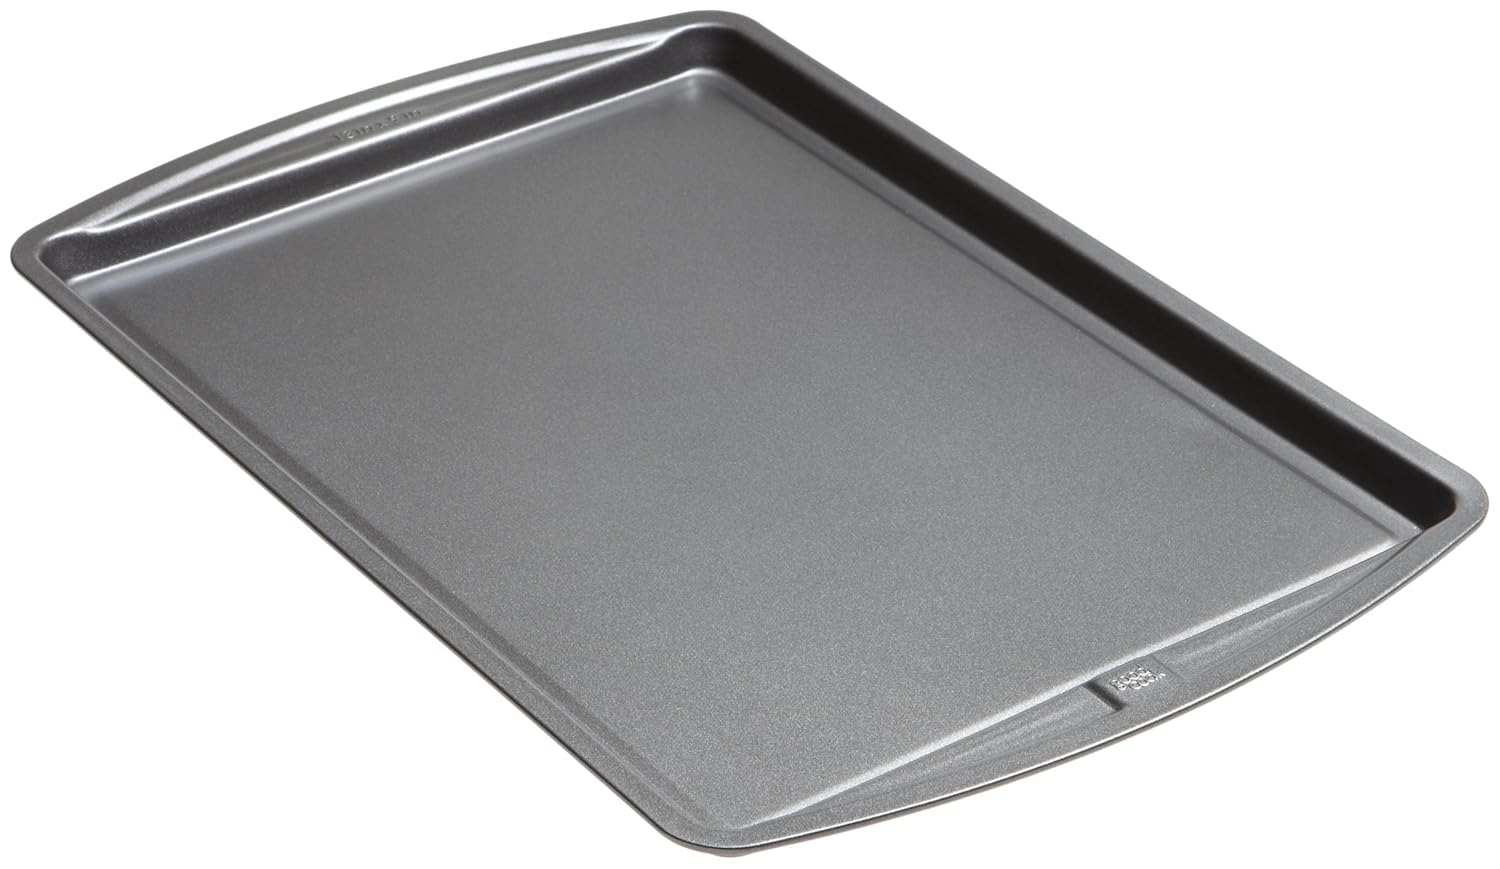
This is  probably the first type of baking pan you should buy. This is because of the versatility of cookie sheets. Contrary to the name, you do not use them for baking cookies alone. A high rimmed cookie sheet can be used to make a jelly roll, thin cake or bars. 

Cheap cookie sheets will warp easily in a hot oven. Get a cookie sheet of good quality if you want it to last for a while without warping or rusting.

All these are baking pans every baker should have in their kitchen. Caring for these pans is an entirely different issue. Soon, i will list my tips for cleaning and caring for your baking pans.

Here is my list of tools every baker needs. If you have any additions to make to this list, please leave it in the comment section.

All images used were gotten from Amazon.

Recipe Review: Quick Bread by  Fine Cooking

Fine Cooking Quick Bread

Get the Quick Bread Recipe from Fine Cooking Here.

The concept of quick bread was a foreign to me until November 2013. I never had quick bread while growing up and even as I transitioned into adulthood. Initially, i thought quick bread was an actual bread with a lesser rising and kneading time.

I have a copy of the Oct/Nov 2013 Fine Cooking magazine and this was an interesting read. However, I was captivated by the quick bread recipe on page 69. Reading about quick breads, I came to realize that they were more like cakes than bread. Even more intriguing was that this recipe was said to be easily customizable and very adaptable.

The best part about this recipe is that the best quantities of add-ins are available for reference. This helps to prevent the use of too many add-ins.

I have tried the recipe as it was written. I also tried it using other substitutions and numerous add-ins depending on what I had available at home. Here are the results from making this recipe different ways.


  • Using the recipe as directed
  • Reducing the quantity of flour in the recipe
  • Including dry add-ins
  • Using wet add-ins
  • Adding Spices and aromatics
  • Substituting  melted butter with oil
  • Using margarine instead of melted butter


Fine Cooking Lemon and Cranberry Quick Bread
Using the recipe as is


 First of all, this quick bread recipe is easy to follow.  It involves putting all the dry items in a bowl and mixing the wet in a separate bowl. After which, you mix  the wet and dry ingredients. I have yet to experience a mishap with this recipe (I lied, once I mistakenly added baking soda instead of powder and had to throw away the quick bread).

The quick bread recipe from fine cooking produced a moist and flavourful quick bread that I enjoyed. This bread was soft and dense. It is necessary to note that it has neither airy nor tender texture that a very good vanilla cake or madeira cake possesses. The absence off the creaming in this recipe also eliminates the situation where you can whip air into the batter to provide a lighter textured bread. The melted butter this recipe calls for can be tasted alongside the other flavours that you can use with this batter.
After baking the recipe as directed, the results I got were was nice but I was in love with the crunchy top of this quick bread even without extra toppings. I do not like a sticky top on my baked goods so the crisp top was a welcome feature of this quick bread.

Reducing the quantity of flour in the recipe

The quick bread fine cooking recipe calls for 2 cups of flour. However, I have baked this recipe numerous times using 1 ¾ cups of flour to reduce the denseness of this bread. The quick bread made using a smaller quantity of flour was not as dense. However, I prefer the texture of the quick bread made with the recommended quantity of flour

Including dry add-ins

This recipe is incredibly versatile and allows for a cup or more of dry add-ins. I have added dried fruit as well as baking chips and the results were the same.  The batter of this recipe is thick enough to allow for the suspension of add-ins when baking. My add-ins did not sink while baking.

Adding spices and aromatics

 This recipe is a simple one that can be described as a quick bread canvas. This recipe carried the flavor of the spices I added quite well. Because of how well it is carries flavors, it is very important to be careful when mixing in spices to avoid a cinnamon/nutmeg overload situation. I have tried using other extracts apart from vanilla and the result was a flavorful quick bread.

If you want to flavor your quick bread with spices and aromatics other than vanilla, know that the melted butter used in this recipe also flavors this quick bread and could cause a clash of flavors. If you do not mind the flavor of the butter then feel free to use this recipe as it is and proceed to add your aromatics.
Furthermore, if for some reason you cannot use butter, you can use melted margarine. It does not have the flavor of butter but still bakes the same way as the quick bread made with butter. Using margarine allows you to have a cleaner base (taste-wise) for the introduction of new flavors.

Using wet add-ins

One of the high points in this quick bread recipe is the ability to customize this recipe using dry/wet add-ins . I have used mashed bananas in this recipe (sticking to the recommended quantity). This already dense bread was made even denser because of the addition of the bananas.
My taste testers did not appreciate this addition. I knew this because the banana quick bread stayed on the cake plate for days after the initial tasting.

 If you do wish to make use of wet add-ins, I would recommend using half of the suggested quantity to prevent the quick bread from being overly thick.  I will not be using any wet add-ins to this recipe again.

Subtituting melted butter with oil

On a whim, I decided to use oil instead of melted butter. I will never do that again. As is a general rule when using oil to bake, I used a flavorless oil and knew that I would need to makeup for the lack of the flavor the butter provides somehow. To make a more flavorful bread, I used 1 tablespoon of pure vanilla extract in this recipe.
After baking, the first thing I noticed was that the quick bread did not rise as much as the quick breads baked with melted butter or even margarine.

The second thing I noticed was that the flavor was ‘off’. When I took the first bite, I felt like something tasted wrong. Eventually, I came to realize that the only thing that was ‘off’ was the flavor. Despite my increasing the quantity of vanilla extract the recipe called for, my quick bread had a very flat flavor that even frosting could not redeem.

Overall Observation

This quick bread recipe was lovely. I enjoy it and recommend it for a brunch item. I recommend adding  some lemon or orange zest. Using a reduced amount of flour will give you a lighter bread that cannot support the weight of dry add-ins. For a cake that can hold fruits or add-ins, bake exactly as directed.

I hope that I have been helpful. If you have a recipe you think that I should try, leave a link in the comment section below. I would also love to hear your experience with this recipe.

11 Tools every Baker Needs


Baking tools are the assistant chef in your kitchen or bakery. They can help you create beautiful baked goods or contribute to the birth of baked abominations. I know, I am being dramatic!


Over the many years I have been baking, I have collected quite a number of kitchen tools. Some have been more useful than others but some are simply indispensable.


I have come to realize that baking without some pieces of equipment would be incredibly difficult because of their roles in my kitchen.
Here are 11 tools every baker needs:

Digital Kitchen Scale

This is one baking tool that is indispensable. Before I got a proper kitchen scale, I would measure using cups and spoons. While cups and spoons work great for some recipes, they are no match for the precision of the digital kitchen scale.

 If you want to start baking, this should be your first purchase in my opinion. It will make measuring 4 grams of salt a breeze.

Measuring cups and spoons

This is is my next most important tool while baking. A lot of recipes are measured through this medium. It is important to know though that  a scale can measure weight down to the gram but cups can not. 

Using measuring cups can cause weight to vary by a few grams but in some recipes, the slight variation does not matter.

Oven thermometer

If you are like me and own an oven that has a fickle temperament, you need this. My oven temperature varies and is affected by a number of surrounding factors.

I recommend that you buy an oven thermometer so you know your oven is heated correctly every time you bake.

Candy thermometer

This is also essential for most bakers. This can help you check the temp of your ingredients, liquids, frying oil and cooked sugar. 

If you are going to undertake the making of caramel, brittle, bread, churros and many other baked goods, buy a candy thermometer.

  Mixing bowls

A bowl is a bowl? Not really. When I just started baking, I used regular bowls for mixing but a proper mixing bowl makes all the difference. Proper mixing bowls are a tool you should have if you are an avid baker. 

 Due to the circumference of the bowl, you can fold your batter carefully and even mix larger quantities than usual. A great mixing bowl is essential in every baker's kitchen.

Spatula

You will need a wide good quality spatula if you are going to do a ton of baking. I recommend a full silicone spatula. If you can, get a stiff and a soft spatula. A soft one in great for turning delicate batters while the stiff spatula wont bend under the weight of heavy batters.

 Avoid detachable spatulas because washing the tiny nooks can be a hassle. Furthermore, when you wash them, water can gather in these spaces.

Pastry Scraper/Bench Scraper

This is a baking tool that I love now. It is especially nice to have this on hand when working with sticky dough. A plastic scraper can help you get all of your dough out of your mixing bowl or off your counter tops with no fuss.

 I use a plastic scraper I bought for icing cakes and I love it. I personally prefer the plastic to the metal scrapers because of its flexibility. Also I do not have to worry about chipping or scrapping my mixing bowl and counter top.

Baking Paper

This is one item I no longer want to be without.  This is an important item to have in your baking pantry if you do a lot of baking. A must have for  baking cookies, cakes and cheesecakes. This helps to prevent your baked goods from sticking to your baking pan or sheets. 

I also double or triple my parchment paper in the part of my oven with a hot spot. It helps to delay browning of the item in that side of the oven.

Timer

One thing that you will encounter every time you bake is a baking time. It is the estimated time for when your baked good will be ready.  It is quite easy to set a timer on your phone or oven. However, a stand alone timer is great if you do not have an oven timer.

 Accurate timing is important while baking and this makes a timer one of the tools every baker needs.

Baking pans

What is baking without baking pans?  Baking pans and sheets are essential for all your baking needs. This is one item where I recommend the very best quality. Good quality baking pans can last a lifetime with proper care and use. There is a huge variety available but some pans are a disaster waiting to happen. 

Cheap baking pans tend to chip easily, warp and cause baked goods to stick. Baking pans are without a doubt one of the most important tools in a baker’s kitchen.

Here is my list of baking pans every baker should have.

Cooling Rack

Unsung hero comes to mind when I think of cooling racks. The cooking process does not end when you take a cake, bread or cookie out of the oven. The  process ends after it is cool. It is for this reason the cooling rack makes this list. 

 If a baked good is cooled in its pan or on a plate, it can become soggy, overly moist or just have the wrong texture. This make a cooling rack a piece of equipment for an avid baker’s kitchen.


If you have an item to add to the list, add it in the comment section. I would love to read your contributions.
If  you want to read more on my Baking Basics, subscribe to the blog!!!


All images in this article were gotten from Amazon.

The Beginning of Great Things

A recipe review blog sprinkled with tips and tricks to complete your baking education. I review recipes of baked treats and sweets found on the internet while searching for baked perfection.


Hello,

I am Mide (Mee-day) and I will be your host on 'This Baker'. I am a hobby baker with a slight obsession with vanilla extract. When I am not working or taking care of my home, I am baking.
This Baker is a diary that will document my baking journey. Here, I will direct you to recipes that I try as well. I will review numerous recipes and give you my opinion  on the said recipe (Not that I am qualified to judge anyone's recipe). This blog will hold memories of the different recipes I have tried. It will also include my input on how to improve already existing recipes if possible.

I started 'This Baker' because I have been stuck in a baking rut for years. I have been making the same cake and cupcake recipes again and again. This is not  horrible because family and friends ask for them. However, just like people that want to travel after living in a country all their lives, I want to travel in a sense. I want to explore the baking continent.

This Baker

I want to embark on a journey of sorts with this blog.   Here, I will try cake and cupcake recipes from websites, blogs and books.  I hope to discover phenomenal recipes while on my baking journey. I want to be able to able to make the incredibly beautiful cakes and cupcakes I see on other food websites and show them off in clear, enticing pictures that will get your baking juices flowing.
Why the name 'This Baker'? I would like to tell you a touching story of the origin of the name but really no such tale exists. The origin of the name is rather anti-climatic. I read an article and it started with 'This Baker'. 'This Baker' here means Me.

Aside from that, 'This Baker' is easy to type and simple to remember. Like I said earlier, no touching story! (Off to a not so good start as some would argue with my less than bright logic of choosing a blog name without much thought to it).
Stay for the baketivities (baking activities) as I appreciate every comment, opinion, constructive criticism, comic remark and occasionally dry humor. I hope to inspire you to leave the baking comfort zone that you may now inhabit and try new recipes with me.

PS: Do be aware that I am a sucker for a plain vanilla cake and so you may encounter many, many vanilla cakes and cupcake recipes while watching my journey.
Mide.
Professional Blog Designs by pipdig